Thursday, August 2, 2012

Berries

It's been a good year for berries.  The rainy spring has apparently agreed with them.  We have a bumper crop of Tay berries.  For those who don't know, and I think many do not, Tay berries are a cross between Logan Blackberries and Raspberries.  They were developed near the Tay River in Scotland, hence the name.

When they are ripe they develop a purply like colour.  The darker one above is nearly ripe.  The red berry has a day or two to go.


Last year we didn't get but a handful of berries, the harsh winter cold with little snow cover froze the canes back to just a couple.  Like raspberries they fruit on the previous year's canes.  This year is a different story.

What can you do with Tay berries?  3 quarts of Tay berry cordial comes to mind.  In a couple of weeks these will be a delectable treat.
Other uses are the same as for raspberries or blackberries. Cobbler, pie or wine.  We have not tried the wine yet but are about to venture into that.  Tomorrow my wine making equipment arrives and thus will begin a new venture.  I don't know if we can wait 6 months or a year for the wine to mature.


The blue berry bushes are also doing well, now that we have effectively fenced out the deer, the bushes are growing adding some size and there is a respectable showing of fruit.  We never had a problem with deer eating the Tay berry bushes, they are just too thorny.  One has to be quick to get the blue berries though, birds like them best of all it seems.  They pluck them as fast as they ripen.  We will either have to throw up some bird netting or overwhelm them with volume.

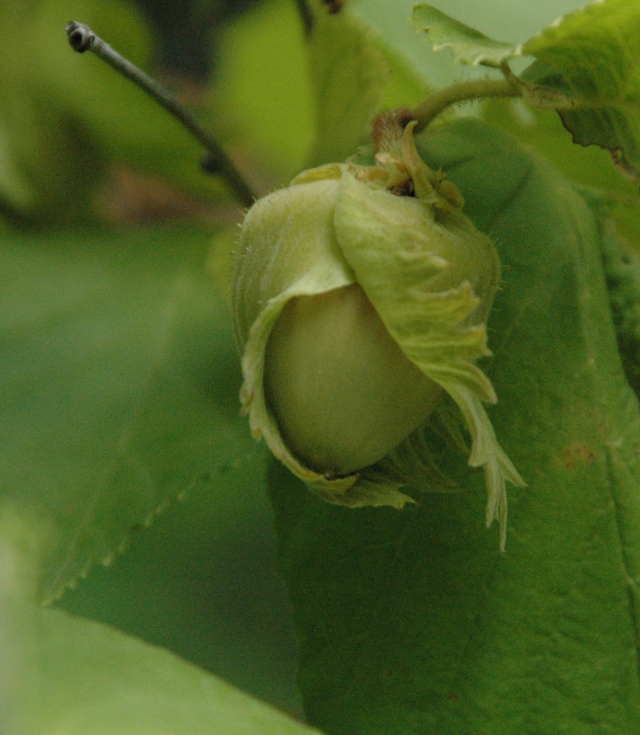
One of Mrs. Waggs favourite berries, the native blackcap.  We have a volunteer bush near the tool shed. We are hoping to establish a few more bushes in the vicinity.


Thursday, July 26, 2012

Misty Morning

Last Sunday morning there was a beautiful mist early.  We don't often get fog on the ridge top. Generally it lays in the valley to the southeast but this day it crept up to our place and was very ethereal-like. It was a real treat but it didn't last long once the sun peaked over the mountains to the east.


Sunday, July 22, 2012

Hoop House

My other big project this year was (still is) building a hoop house.  Now you can use a hoop house to raise hoopers or you can use it to grow vegetables in a less than cooperative climate.  We are doing the latter.  Little hoopers are hard to find and big hoopers, well, are just too hard to control.
We considered many different designs of varying complexity and expense.  We had to have something that would contain our raised beds as they are already in place and didn't want to rebuild them, not yet anyway.  We could cover 4 beds or 6.  With 4 beds the hoop house would be 12' wide, with 6 beds it would be 20' wide and the length would be 20' for either configuration.  Because of the elevation drop, side to side, in 20' we decided to go 12' wide and just cover the 4 beds, it would also be cheaper and easier, not a bad combination.
We set 3' long x 1 1/2" pipes in concrete every 4' along each edge for the anchors.

The beds already being in place complicated the whole process.  The anchor pipes were attached to the bed boards and so are some of the end-frame pieces.  Because of this replacing the beds someday will be more difficult but not impossible.  When that task finally arrives, as it will, then the anchor pipes and end pieces can be attached to the perimeter base boards, as they should be to begin with.
The hoops are 1 3/8" chain-link fence top rails.  It takes two of these
to make one hoop 12' wide.  They are connected together and to the
anchor pipes with screws drilled into them.

This picture is a little canted but it shows the basic structure.  The 4x4s frame the doorway and are set in concrete.  Also framed into the ends are three vents, one on each side of the door and one above.  The end frames are the same on each end.  We are hoping to get enough ventilation to be able to leave the covering in place through the summer.

A side view showing the layout of the six beds .  Also visible are the 1" boards on the ends cut to the shape of the hoops, these are there to attach the fabric to.  The original design called for 1" boards to be bent over the end hoops but that was beyond my patience.  The plan is to use the twin wall rigid greenhouse panels on the ends and
to use greenhouse fabric/plastic over the hoops and purlins attaching
it with staples.

The purlins  are 1x3s attached with wires.

We will see if this attachment holds.  I was reluctant to attach them with more screws being afraid to weaken the structure anymore by drilling them into the pipes.
Plans are to cover the ends as soon as finances allow and to put the rest of the cover on just before cooler weather arrives, about September.  The chief disadvantage of waiting for main cover will be the plants are already growing past the boundaries and may have to been pruned back or gently shifted about.


Tuesday, July 17, 2012

2012 Projects

Two projects have occupied most of my time this year.  In between rain showers, which wasn't too often, I was building fence and working on a hoop house (greenhouse).
Several years ago Anna-belle went to her reward and Cali, our remaining canine, has grown older and with that a loss of hearing.  She doesn't hear the deer and what's more she doesn't really care.  She's not a barker and not a protector so as far as the deer are concerned it was a buffet.  After fighting the weather and finally getting a vegetable crop to grow and then to have the deer eat it or destroy was too much for Mrs. Waggs - it was put up a fence or no more garden.  I started the project last year and was able to complete the south end and a part of east and west sides.  This spring the effort was renewed and the west side is nearly complete.  On the east side we put up some stock panels tied to metal posts as a temporary measure.  I have devoted all the time (and effort, I really hate digging post holes) I can afford right now so a permanent fence on that side will have to wait, at least until I drop a few trees.  On the north end sits the house and the multi-purpose shed and really offers little opportunity for ingress for the deer.  Not that they couldn't come in that way but so far all has worked as planned, so far.  If they decide to come in from the north then more fence will have to be built.
As can be seen from the pictures the fence is not all that tall but they haven't jumped it yet.  Provision has been made though in case they feel athletic, atop the posts are 2' stakes that provide a place to thread a twine through - hopefully this will give the allusion of a fence too tall to jump.

This picture shows the west side.

The gate on the east side leg that connects to the chicken house.  We chose to buy gates, they were on sale and they did not cost much more than making them.  At least they were easy.  We have this 6' gate and three 4' gates.  When I make the connection from the pump house to the multi-purpose shed (yes, it still needs done, more on that further down.) I will make a wooden gate.

The height extenders.  Note the hole in the top to thread the twine through.

This is the end of the west side.  I decided to create another project here.  I put in two posts placed so that I could extend the roof of the pump house four feet.  My plans are to store a generator here to run the pump when the power goes out, which is way too often.  This will be an expensive project as I must yet buy the generator and the transfer switch.
Not pictured is the 10' from the pump house to the multi-purpose shed.  I will put in two posts and use 2x4 rails with a stock panel.  I also want to make a trellis for a climbing rose, more on that as I complete it.

My other big project is a hoop house, I will highlight it in the next post.


Friday, July 13, 2012

Summer

It's finally starting to feel like summer.  After what seems like months of rain and 50 degree highs it is now in the 90's.  Huzzah!!!

Saturday, November 13, 2010

Luddite


I'm a Luddite, I admit it. I am
finally coming out of the Ludd closet. For years I have kept that
little fact a secret, even deceiving myself, but I can no longer live
the lie. I have reached my technological apex.  If you aren't familiar with the term Luddite, then you will have to either Wiki it or wait until I blog more about it in future posts but I wanted to at least mention it before I posted the following pictures.  In some way that statement will explain my fascination, no, obsession with old time objects, such as the flintlock below.

Now, keep in mind, this is not a genuine antique, and that is not only okay, it is preferable, because the contemporary made rifle can be used without fear of breaking it or degrading the antique value, and the best part is in the using.  With many of the old fashioned objects, tools, etc, the fun is in the lifestyle they enable.  Of course in this modern day we can pick and choose what what part  of that lifestyle we want to participate in and what we want to leave in the past.


Another newly acquired item is the cauldron in the next photo.  While the current use as a wood box is not in keeping with the traditional use for this item it best suits our purpose for the time being.


Sunday, October 31, 2010

Nuts

A fair harvest of Hazel nuts. 


A couple of green nuts from earlier this year in photos above.


We have six large bushes that we planted over 20 years ago.  We harvest about 2 gallons of nuts a year.  Not a large harvest but I think it may have something to do with how they are pruned.  We have let me grow up about 10-12' tall, multi-stemmed.  They make a nice form but I suspect that shorter bushes more agressively pruned with yield more nuts.  I am not about to change their shape now but would like to plant more bushes and test my theory.  In the last photo above the nut bushes are seen above the lawn chairs, the bushes on this end are Lilacs.